


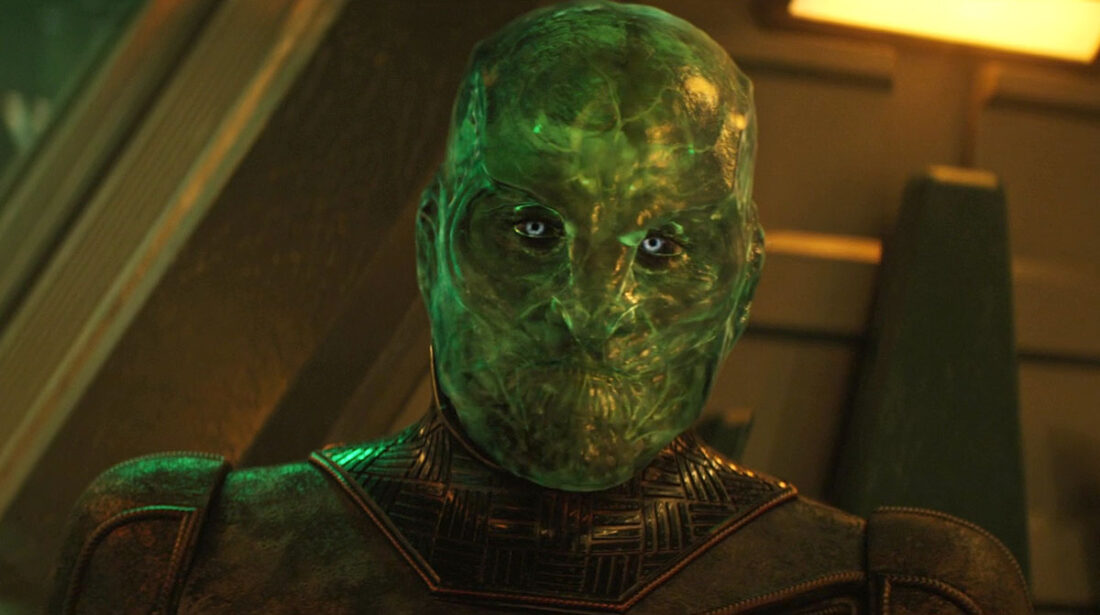
One of the longstanding questions in the Star Trek franchise that has been unanswered since it was first asked in 1995 when we saw our first Breen in DS9’s “Indiscretion.” That question, which remained unanswered despite the Breen becoming major players in the Dominion War arc of DS9’s final two seasons, was: What do the Breen actually look like?
Their initial appearance showed them in full-body armor and helmets that covered their entire persons. (They also bore an unfortunate resemblance to the outfit Leia Organa wore in the opening bit of Return of the Jedi.)
Discovery has finally answered that question. In fact, it turns out they answered it a few weeks ago, as L’ak—whose species was unknown to anyone prior to “Mirrors”—is a Breen. The Breen suits have been redesigned to look less Star Wars-y, and when they first undo their helmets, their skin is translucent, not becoming opaque until the helmet’s off for a while.
A large chunk of “Mirrors” is given over to The Secret Origin Of Moll And L’ak, and it’s a story that’s as old as the hills. L’ak is a member of the royal family, but he’s on the outs with his family, given crap customs duties as punishment for being a ne’er-do-well. Moll is a Courier who takes a shine to this disgraced aristocrat, and they fall in love. When she gets a better contract with the Emerald Chain, she urges him to come with her, otherwise they’ll never see each other again. He agrees, but it puts him on the outs with the royal family, who put a contract out on him.
This is why Moll and L’ak are so hot to find the Progenitors’ tech: it’ll enable them to buy L’ak’s freedom from being a Breen fugitive. They can go to the planet in the Gamma Quadrant where Moll has always wanted to go ever since her father promised it.
Ah yes, the Cleveland Booker connection. The prior iteration of the Dread Pirate Booker had promised Moll and her mother that they’d be able to retire to a planet in the GQ. (Presumably accessed via the Bajoran Wormhole?) But he never returned home. Moll, of course, hates his guts, which torpedoes Book’s plan to appeal to their mutual relationship with her Dad.
The confrontation takes place on the I.S.S. Enterprise, which is just hilarious. Apaprently there’s a pocket dimension in Tzenkethi space that has a bunch of busted-up ships in it, and it’s where the next piece of the puzzle is hidden. The scientist responsible is a woman named Dr. Cho, who is actually from the Mirror Universe. She and some others crossed over to the mainline universe in the Enterprise before the Terran Empire fell. We know from DS9’s “Crossover” that Spock-with-a-beard rose to the position of emperor and then tried to initiate reforms, which led to the empire being conquered by the Klingon-Cardassian Alliance. The notion that Cho crossed over and hid the Enterprise in the dimensional pocket is an interesting one.
It also enables Discovery to make use of the Strange New Worlds sets, as the bridge, corridors, and sickbay of the I.S.S. Enterprise are re-dresses of the ones used on the sister show. There’s a lovely moment when Burnham looks with sadness at the science station, as that was “my brother’s” station, though she never saw the Enterprise or encountered the MU Spock in her visit there in Discovery’s first season. (She doesn’t mention that she met Sarek, interestingly enough.) She also finds out that Mirror-Saru—whom she met—was one of the movers and shakers behind getting Cho and the others to safety in the mainline universe, prompting Book to comment that he’s “Action Saru” in any universe…
Burnham and Book find Moll and L’ak on the Enterprise. There are lots of confrontations, shootouts, hand-to-hand combat, and working together, sorta-kinda. In the end, Moll and L’ak still don’t trust Starfleet and are in this to win it, and they escape, while Burnham and Book manage to save the day and salvage the Enterprise. Oh, and they get the next clue/puzzle piece.
(Burnham puts Detmer and Owosekun in charge of bringing the Mirror Enterprise back to Federation HQ, and this is the second time this season that the pair of them have been mentioned but not seen, with this side mission possibly meaning we won’t see them next week, either, which is annoying. Emily Coutts and Oyin Oladejo have done a wonderful job of making these two a compelling pair at the front of the bridge despite scripts that give them almost nothing, and I was hoping to get more, not less, of them in this final season.)
Back on Discovery, Rayner is left in charge and he has to enocurage the various science nerds in the senior staff to come up with a way to improve communications with the interior of the pocket dimension and also rescue Book and Burnham. To his credit, he does it well, making sure to get everyone involved. Burnham also is able to communicate her intentions to Rayner by using some Kellerun folklore she read up on. (Yes, Rayner is a Kellerun, one of the two species with really terrible hair from DS9’s “Armageddon Game.” Thankfully, hairstyles have improved among the Kellerun over the last eight centuries…)
Burnham, Rayner, and Stamets’ time-travel adventure last week had one particularly important revelation: the destruction of Federation HQ was accomplished by the Breen—the very people Moll and L’ak want to sell the Progenitor tech to. So now our heroes are even more motivated to stop Moll and L’ak, because they know exactly what will happen if they use the tech to get the Breen royal family off their backs.
I said in my review of the season premiere that Moll and L’ak on the one hand reminded me of other genre Bonnie and Clyde riffs, to wit, Spike and Drusilla from Buffy the Vampire Slayer and Pumpkin and Honey Bunny from Pulp Fiction. But on the other hand, they didn’t quite rise to the level of those other two. The backstory on the pair of them does do some good work in that regard, mostly by showing what’s at stake for L’ak. Moll rescued him from a life he despised, and which he will do whatever’s necessary to never go back to. The source of his love is made abundantly clear in the flashbacks. (Moll’s passion for L’ak is less obvious, but Eve Harlow at least makes the devotion convincing.)
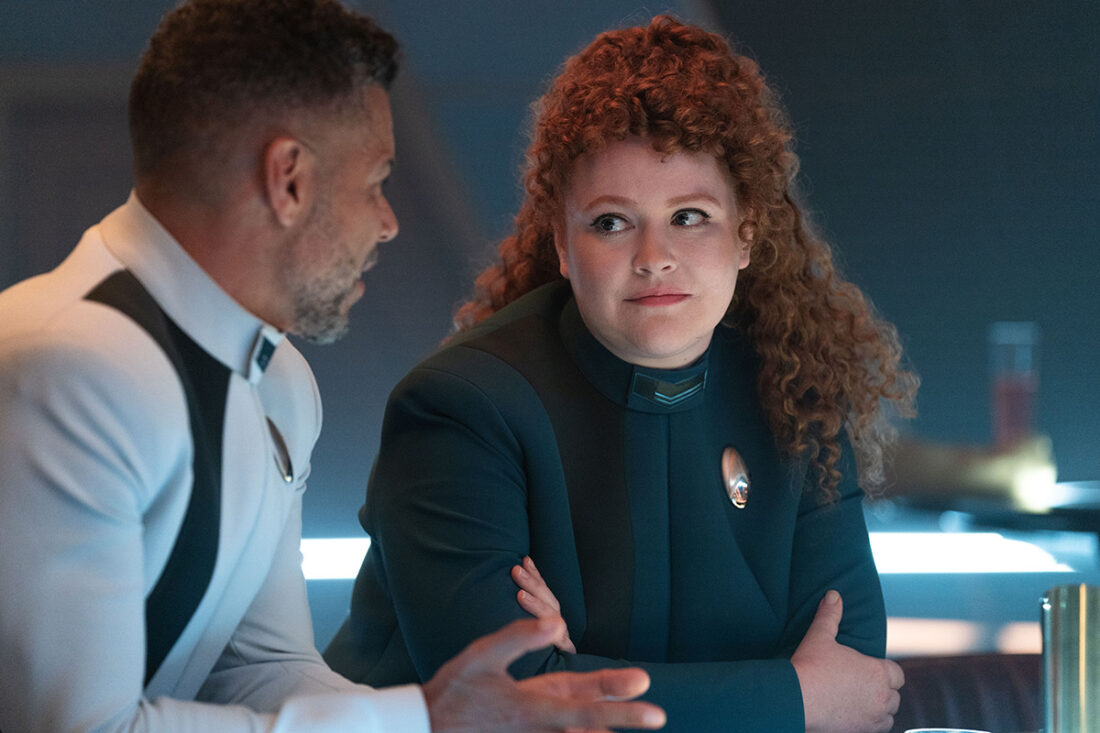
We also get some who-counsels-the-counselor bits, as Culber is having trouble processing what he went through on Trill. Tilly volunteers to be his sounding board, wherein we find out (among other things) that he can’t really talk to Stamets about it. Which is, y’know, bad. But it’s nice to see that having Jinaal occupy his meat suit was something that affected him, and which also dredged up his mixed feelings about dying and being resurrected.
Next week, we’re on to the next puzzle piece, with Moll and L’ak now using an MU medical shuttle to fly around in…